Growing Salad Greens Indoors
Have you ever reached for lettuce in your fridge only to find a slimy, wilted mess? I’ve been there too many times. That’s why I started growing salad greens indoors, and it’s been a game-changer! Growing salad greens indoors is perfect if you’re short on outdoor space but crave garden-fresh salads. Let me show you how easy it can be to grow your own vibrant greens right in your kitchen.
Why I Started Growing Salad Greens Indoors (And Why You Might Want To)
When I first began my indoor gardening journey, I was skeptical. Could I really grow enough greens to make it worthwhile? The answer was a resounding yes, and here’s what I’ve gained:
- Fresh salads any time of year — No more disappointment when winter hits and good produce becomes scarce
- Peace of mind about what I’m eating — I know exactly what goes into growing my greens (no mystery chemicals!)
- Surprising savings — I was shocked how quickly my indoor garden paid for itself compared to buying organic greens
- A touch of garden therapy — Even in my small apartment, harvesting fresh greens brings me genuine joy
- Almost instant gratification — Many of my favorite greens are ready in just 3 weeks!
My Favorite Greens for Indoor Growing
Through trial and error, I’ve found these varieties thrive even under my not-always-perfect care:
- Lettuce (Romaine has been my most reliable, but butterhead offers such delicate flavor!)
- Spinach (Nothing beats the tender baby leaves for smoothies)
- Arugula (My personal favorite—spicy and ready super-fast)
- Kale (The sturdy performer that keeps giving for months)
- Microgreens (When I need a nutrition boost in just 7-10 days)
- Swiss Chard (The colorful stems brighten both my kitchen and my plate)
Three Ways I’ve Successfully Grown Salad Greens Indoor
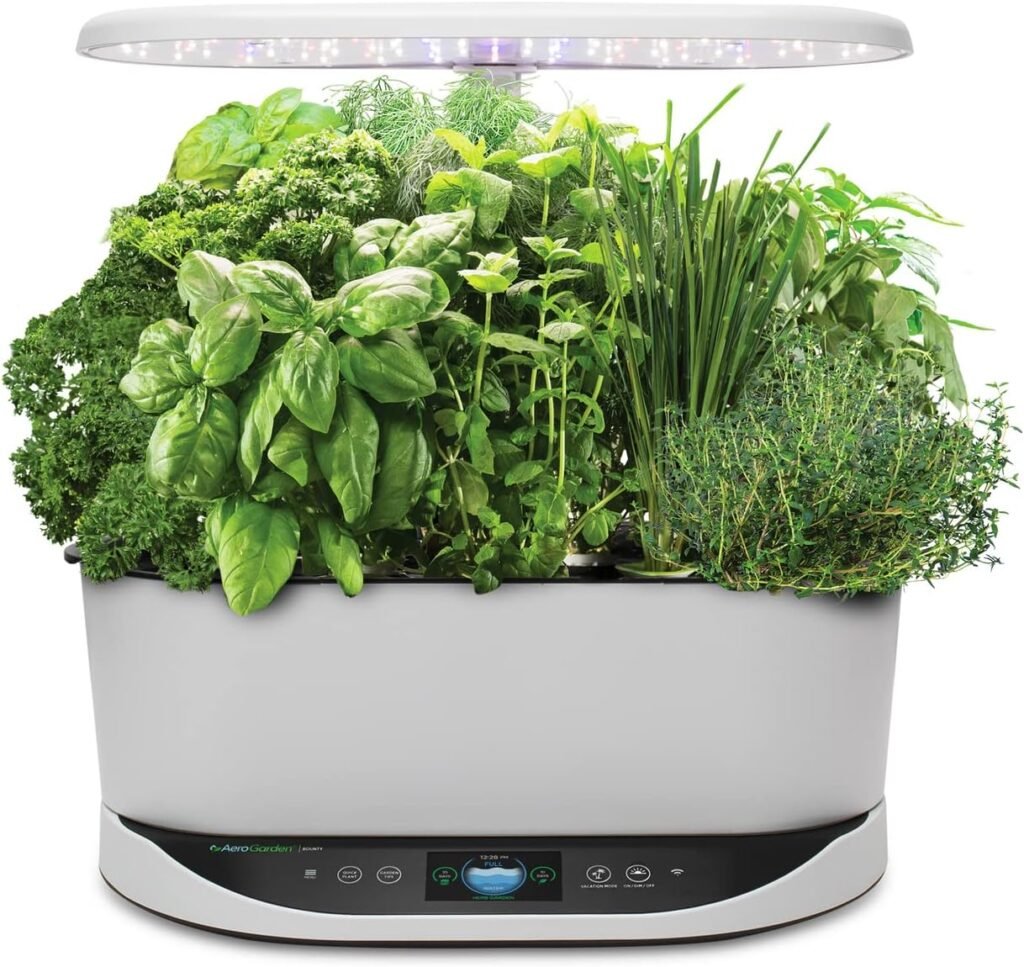
1. My Love Affair with the AeroGarden
I’ll be honest—my AeroGarden changed everything. As someone who managed to kill supposedly “unkillable” plants, this system made me feel like a gardening genius.
What I love about my AeroGarden:
- It tells me what to do — Lights turn on and off automatically, and it reminds me when to add water or nutrients
- No dirt under my fingernails — The water-based system means no messy soil spills on my countertops
- It’s actually attractive — Unlike some gardening setups that took over my space, this looks intentional and tidy
- Consistent results — Even when life gets hectic, the automated system keeps my greens thriving
I started with the AeroGarden Harvest, which fits perfectly in my small kitchen. When I got hooked (and started eating more salads), I upgraded to the Bounty model for even more growing capacity.
2. My DIY Grow Light Adventure
Before investing in an AeroGarden, I experimented with a simple grow light setup. It required more attention but gave me flexibility to grow exactly what I wanted.
My DIY setup included:
- Shallow trays with drainage holes (repurposed containers work great!)
- Good quality potting mix (I learned the hard way that cheap soil yields poor results)
- A VIPARSPECTRA LED Grow Light suspended about 12 inches above my plants
- A small clip-on fan for air circulation (prevents mold and makes stems stronger)
- A dedicated watering can with a gentle shower head
This approach let me grow larger quantities and experiment with different varieties simultaneously. The trade-off was needing to be more attentive to watering needs and light timing.
3. My Budget-Friendly Hydroponic Solution
When I wanted to expand beyond my AeroGarden but didn’t want another significant investment, I tried the iDOO Hydroponic Growing System. It offers similar benefits at a lower price point.
What surprised me:
- Growth speed — My lettuce grew even faster than in soil
- Water efficiency — I only needed to refill the reservoir once a week
- Less hassle — No soil meant no gnats or other indoor garden pests
- Space-saving design — The vertical structure made good use of my limited counter space
Personal Tips From My Successes (and Failures)
- Light is everything — When my first crop looked pale and leggy, I realized my greens needed more light than I thought (12-16 hours daily is ideal)
- Harvest strategically — I take outer leaves first and leave the center to keep growing, giving me months of harvests from the same plants
- Temperature matters — My greens struggled when placed near my radiator; they prefer steady temperatures between 65-75°F
- Succession planting — I start new seeds every 2-3 weeks for a continuous supply
Start Your Own Indoor Salad Garden Today!
Growing my own salad greens indoors has become one of my favorite hobbies—one that actually feeds me! Whether you choose an all-in-one system like the AeroGarden or start with a simple DIY setup, you’re just weeks away from harvesting your first homegrown salad.
Ready to join me in the indoor gardening revolution? The AeroGarden Harvest or Bounty would be my top recommendation for beginners, but any of these methods can work with a little care and attention. Your future self will thank you when you’re enjoying fresh, vibrant salads in the middle of winter!
What will you grow first?
This post may contain affiliate links. If you click on one of these links and make a purchase, I may earn a small commission at no extra cost to you. This helps support the blog and allows me to continue creating valuable content. Thank you for your support!


